Tag: Visual edit |
Exschwasion (talk | contribs) m (Reverted edits by 119.207.135.228 (talk) to last revision by Exschwasion) Tag: Rollback |
||
| Line 10: | Line 10: | ||
| style="text-align: center;" |[[File:Trigger Twins.png|link=Trigger Twins]] |
| style="text-align: center;" |[[File:Trigger Twins.png|link=Trigger Twins]] |
||
|- |
|- |
||
| − | | style="text-align: center;" | |
+ | | style="text-align: center;" |[[Bullet King]] |
| − | | style="text-align: center;" | |
+ | | style="text-align: center;" |[[Gatling Gull]] |
| − | | style="text-align: center;" | |
+ | | style="text-align: center;" |[[Trigger Twins]] |
|} |
|} |
||
| Line 24: | Line 24: | ||
| style="text-align: center;" |[[Ammoconda]] |
| style="text-align: center;" |[[Ammoconda]] |
||
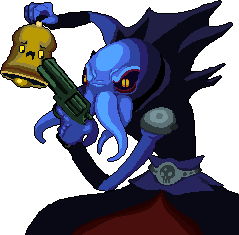
| style="text-align: center;" |[[Beholster]] |
| style="text-align: center;" |[[Beholster]] |
||
| − | | style="text-align: center;" | |
+ | | style="text-align: center;" |[[The Gorgun]] |
|} |
|} |
||
| Line 33: | Line 33: | ||
| style="text-align: center;" |[[File:Treadnaught.png|link=Treadnaught]] |
| style="text-align: center;" |[[File:Treadnaught.png|link=Treadnaught]] |
||
|- |
|- |
||
| − | | style="text-align: center;" | |
+ | | style="text-align: center;" |[[Cannonbalrog]] |
| − | | style="text-align: center;" | |
+ | | style="text-align: center;" |[[Mine Flayer]] |
| style="text-align: center;" |[[Treadnaught]] |
| style="text-align: center;" |[[Treadnaught]] |
||
|} |
|} |
||
| Line 45: | Line 45: | ||
|- |
|- |
||
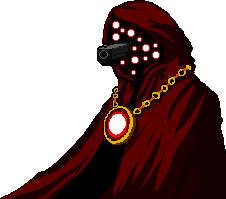
| style="text-align: center;" |[[High Priest]] |
| style="text-align: center;" |[[High Priest]] |
||
| − | | style="text-align: center;" | |
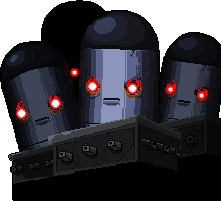
+ | | style="text-align: center;" |[[Kill Pillars]] |
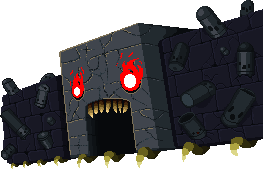
| style="text-align: center;" |[[Wallmonger]] |
| style="text-align: center;" |[[Wallmonger]] |
||
|} |
|} |
||
| Line 72: | Line 72: | ||
|} |
|} |
||
| − | === |
+ | ===[[Oubliette]]=== |
{| style="width:90%; align:center" |
{| style="width:90%; align:center" |
||
| style="text-align: center;" |[[File:Blobulord.png|link=Blobulord]] |
| style="text-align: center;" |[[File:Blobulord.png|link=Blobulord]] |
||
|- |
|- |
||
| − | | style="text-align: center;" | |
+ | | style="text-align: center;" |[[Blobulord]] |
|} |
|} |
||
| − | === |
+ | ===[[Abbey of the True Gun]]=== |
{| style="width:90%; align:center" |
{| style="width:90%; align:center" |
||
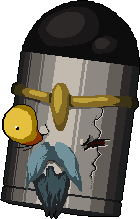
| style="text-align: center;" |[[File:Old King.png|link=Old King]] |
| style="text-align: center;" |[[File:Old King.png|link=Old King]] |
||
|- |
|- |
||
| − | | style="text-align: center;" | |
+ | | style="text-align: center;" |[[Old King]] |
|} |
|} |
||
| Line 90: | Line 90: | ||
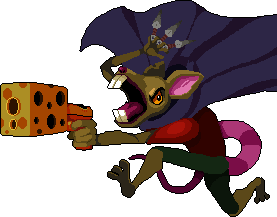
| style="text-align: center;" |[[File:Boss Resourceful Rat.png|link=Resourceful Rat#Boss]] |
| style="text-align: center;" |[[File:Boss Resourceful Rat.png|link=Resourceful Rat#Boss]] |
||
|- |
|- |
||
| − | | style="text-align: center;" | |
+ | | style="text-align: center;" |[[Resourceful Rat#Boss|Resourceful Rat]] |
|} |
|} |
||
| Line 97: | Line 97: | ||
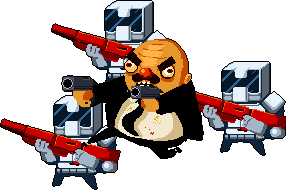
|style="text-align: center;" |[[File:AgunimTitleCard.png|300px|link=Agunim]] |
|style="text-align: center;" |[[File:AgunimTitleCard.png|300px|link=Agunim]] |
||
|- |
|- |
||
| − | | style="text-align: center;"| |
+ | | style="text-align: center;"|[[Agunim|Cam Clarke as Agunim]] |
|} |
|} |
||
| − | === |
+ | ===Past Bosses=== |
{| style="width:90%; align:center" data-description="Past Bosses" |
{| style="width:90%; align:center" data-description="Past Bosses" |
||
| style="text-align: center;" |[[File:Black Stache.png|link=Black Stache]] |
| style="text-align: center;" |[[File:Black Stache.png|link=Black Stache]] |
||
| style="text-align: center;" |[[File:Dr. Wolf's Monster.png|link=Dr. Wolf's Monster]] |
| style="text-align: center;" |[[File:Dr. Wolf's Monster.png|link=Dr. Wolf's Monster]] |
||
|- |
|- |
||
| − | | style="text-align: center;" | |
+ | | style="text-align: center;" |[[Black Stache]] |
| style="text-align: center;" |[[Dr. Wolf's Monster]] |
| style="text-align: center;" |[[Dr. Wolf's Monster]] |
||
|} |
|} |
||
| Line 122: | Line 122: | ||
| style="text-align: center;" |[[Agunim]] |
| style="text-align: center;" |[[Agunim]] |
||
| style="text-align: center;" |[[Cannon]] |
| style="text-align: center;" |[[Cannon]] |
||
| − | | style="text-align: center;" | |
+ | | style="text-align: center;" |[[The Last Human]] |
|} |
|} |
||
| Line 129: | Line 129: | ||
| style="text-align: center;" |[[File:Lich.png|link=Lich]] |
| style="text-align: center;" |[[File:Lich.png|link=Lich]] |
||
|- |
|- |
||
| − | | style="text-align: center;" | |
+ | | style="text-align: center;" |[[Lich]] |
|} |
|} |
||
Revision as of 14:55, 12 January 2020
Bosses are strong enemies found at the end of every floor in The Gungeon. Defeating a boss allows the player to advance to the next floor.
Upon being killed, bosses drop a weapon or item of random quality, several Hegemony Credits, and one to three pickups such as hearts, ammo, or keys. Bosses will always drop a gun if the player has not yet picked up a gun on the current floor. If a boss from one of the five main floors is defeated without getting hit, they will drop a Master Round as well. Clearing a boss without getting hit will also cause it to drop doubled Hegemony Credits.
Keep of the Lead Lord

|

|

|
| Bullet King | Gatling Gull | Trigger Twins |
Gungeon Proper

|

|
|
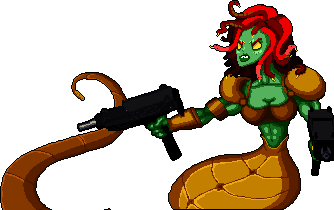
| Ammoconda | Beholster | The Gorgun |
Black Powder Mine

|
|

|
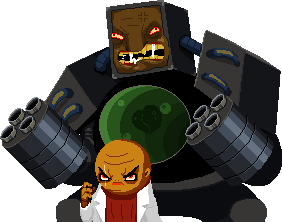
| Cannonbalrog | Mine Flayer | Treadnaught |
Hollow
|
|
|
| High Priest | Kill Pillars | Wallmonger |
Forge

|
| High Dragun |
Secret Bosses
Black Powder Mine

|
| Blockner |
Gungeon Proper, Black Powder Mine, and Hollow

|
| Door Lord |
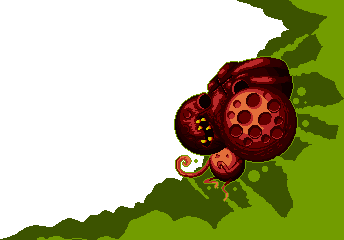
Oubliette

|
| Blobulord |
Abbey of the True Gun
|
| Old King |
Resourceful Rat's Lair
|
| Resourceful Rat |
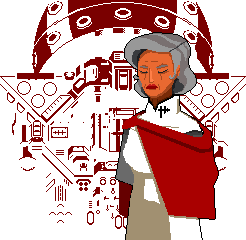
R&G Dept.

|
| Cam Clarke as Agunim |
Past Bosses
|
|
| Black Stache | Dr. Wolf's Monster |
|
|
| HS Absolution | Interdimensional Horror |

|

|
|
| Agunim | Cannon | The Last Human |
Bullet Hell
|
| Lich |
Notes
- When the player enters the past, they will lose their items and guns, but will keep blanks and armor.
- Certain items always carry over to the past, including Galactic Medal of Valor and Enraging Photo.
- Every boss has a DPS (damage per second) cap as a way of stopping players from dealing high amounts of damage over a short time, so guns with high fire rate or high damage can't destroy bosses in seconds.
- The DPS cap of bosses varies per floor:
- Keep of the Lead Lord and Oubliette: 30
- Gungeon Proper and Abbey of the True Gun: 42
- Black Powder Mine: 60
- Hollow: 70
- Forge: 78
- Bullet Hell: 80
- The DPS cap is applied across a 3 second window.
- The most damage a single shot can deal is equal to triple the floor's DPS cap.
- In Boss Rush, bosses have no damage per second cap.
- In co-op, the DPS cap is increased by 70%.
- The damage per second cap is ignored by Glass Cannon, Makeshift Cannon, Yari Launcher, Boxing Glove's 3 star charged super punch, and High Kaliber's souls.
- The damage per second cap is ignored if a weapon deals 1000 or more damage with a single projectile.
- The DPS cap of bosses varies per floor: